Raise your hand if you know for a fact that there is NOTHING better than a bowl of ice cream in the summer. *Raises both hands*
Well summer is here, and what better way to celebrate than to explore a few different techniques to make the most delicious homemade ice cream you have ever had. I went through the total hardship (it was so tough, let me tell you) of trying out both of these recipes to ensure they were perfect, so all you have to do is follow along and you will end up a Summer Hero.
Using an Ice Cream Maker
My husband and I (ok… just me… I did it) registered for an ice cream maker for our wedding. I used to try and make “healthy” ice cream, and let me tell you - just better to stick with full-fledged, regular ice cream for this. Here is the recipe that I found that I love and could eat every single day, for every meal. I pulled this recipe from the Taste of Home website and then tweaked it to make it what I was looking for!
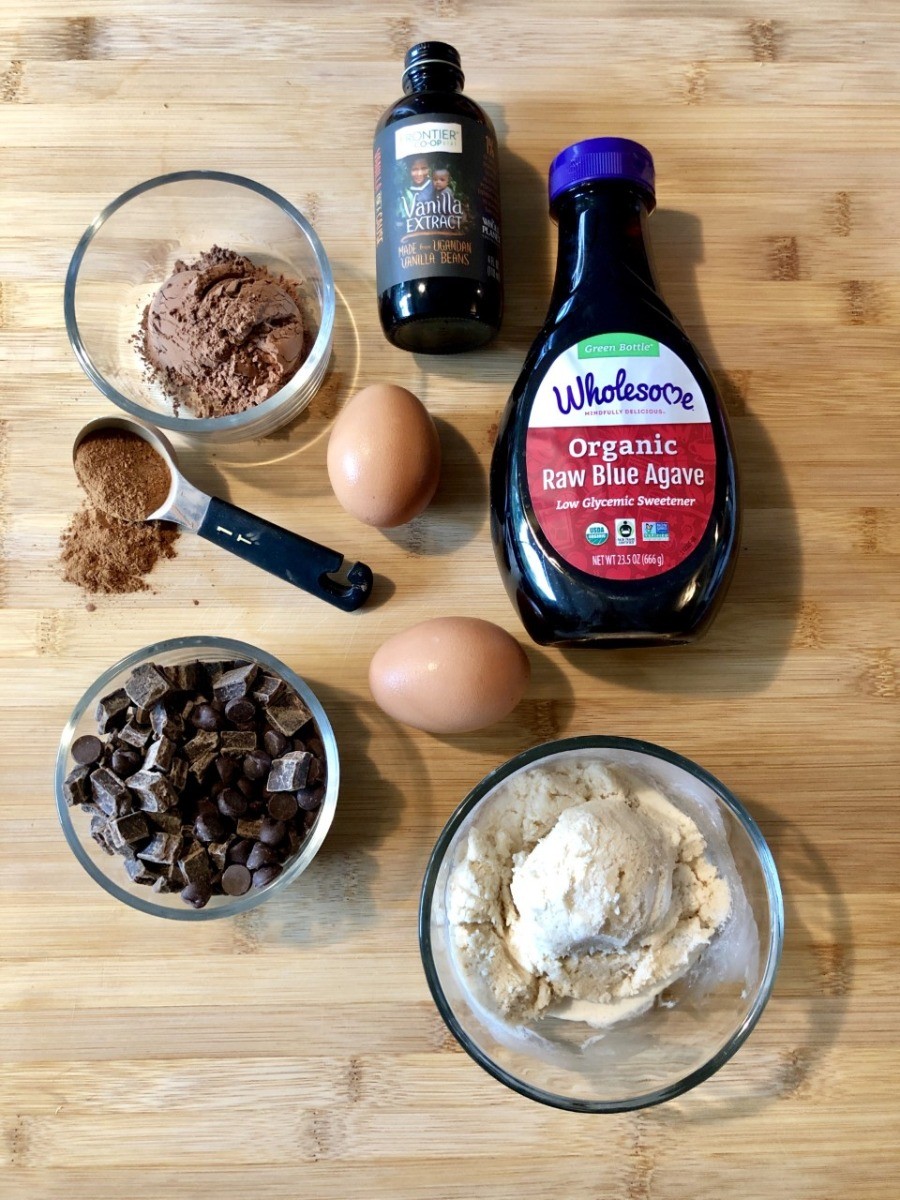
Ingredients
1 cup whole milk
2 cups heavy whipping cream
1/2 cup agave nectar
2 tablespoons unsweetened cacao powder
2 ounces semi-sweet chocolate chips, melted and cooled
3 ounces bittersweet chocolate chips, melted and cooled
2 large eggs
1 teaspoon vanilla extract
1 1/2 tablespoon cinnamon
Dash salt
How
To note: we have a Cuisinart ice cream maker that works well, in case you are looking for a solid little maker.
- Melt down your chocolate chips, then set aside and let cool
- Whisk eggs, cinnamon, cacao powder and salt together in a small bowl
- Heat milk and agave nectar until it is thinking about boiling (you know – the tiny bubbles start showing up!)
- Add egg mixture into the milk pan and keep whisking! All the whisking!
- Keep cooking over low heat until the mixture is thick enough to coat the back of a spoon (and keep stirring!)
- Transfer to a bowl and place bowl into ice water – stir for about 2 minutes
- Stir in the cream and vanilla
- Place wax paper onto the surface of the mixture and refrigerate for at least 4 hours (or overnight)
- Transfer cold liquid to the ice cream maker and let it churn for 35 minutes or so.
- You can definitely eat it right away, but it is definitely recommended to freeze for another 2-3 more hours to get a firmer consistency
You can eat this one as-is, or top with a dash of cinnamon to get fancy!
The (Updated) Old Fashioned, By-Hand(held Mixer) Way
So maybe you don’t want to splurge on an ice cream maker? I got you. This recipe worked better than the one where I was a kid in Florida, beside our pool, trying to make ice cream with my grandma (sorry, Grandma!). My brother, my grandmother and I sat in a triangle and rolled a metal can between us for what seemed like hours. There was rock salt involved and sore muscles, and all we ended up with was cold sweet cream. Bummer. But the recipe I have for you works and is so good that everyone will be lined up with their bowls waiting! I also pulled the basis of this recipe from the Taste of Home website and then tweaked a little to make it my own.
Ingredients
2 cups heavy whipping cream
2 cups half-and-half
3/4 cup maple syrup
2 teaspoons vanilla extract
Heavy dash cinnamon (I know, I know it is in the chocolate recipe too, but IT IS SO GOOD)
How
- Freeze a freezer-safe pan
- Stir together all ingredients
- Transfer to the cold pan and put mixture into the freezer for about 30 minutes
- Once the edges start to freeze, take out and use a hand mixer to mix it all together again (here we come, smooth and creamy texture!)
- Put back in the freezer for another 30 minutes and continue the process of using the electric hand mixer to beat the mixture about 4-5 more times. If it ever gets too hard to mix, put in fridge until it is soft enough to mix and then continue
This one would be unbelievably yummy topped with a very slight dash of salt and bacon crumbles, OR finely chopped peaches.
If you decide to make one of these, be sure to tag us in your photos on social media using #ScoutShopBSA for a chance to be shared on our social channels. We hope you enjoy the recipes and this beautiful, hot weather!
Happy nom-ing!